Quick Start
Welcome to the Altruon Quick Start guide! 🎉
This guide will help you connect your first Payment Gateway, Billing Platform, and configure your checkout page so you can start accepting payments in just a few steps.
Prerequisite: You should already have sandbox access to Altruon.
If not, please follow the steps in How to get sandbox access?.
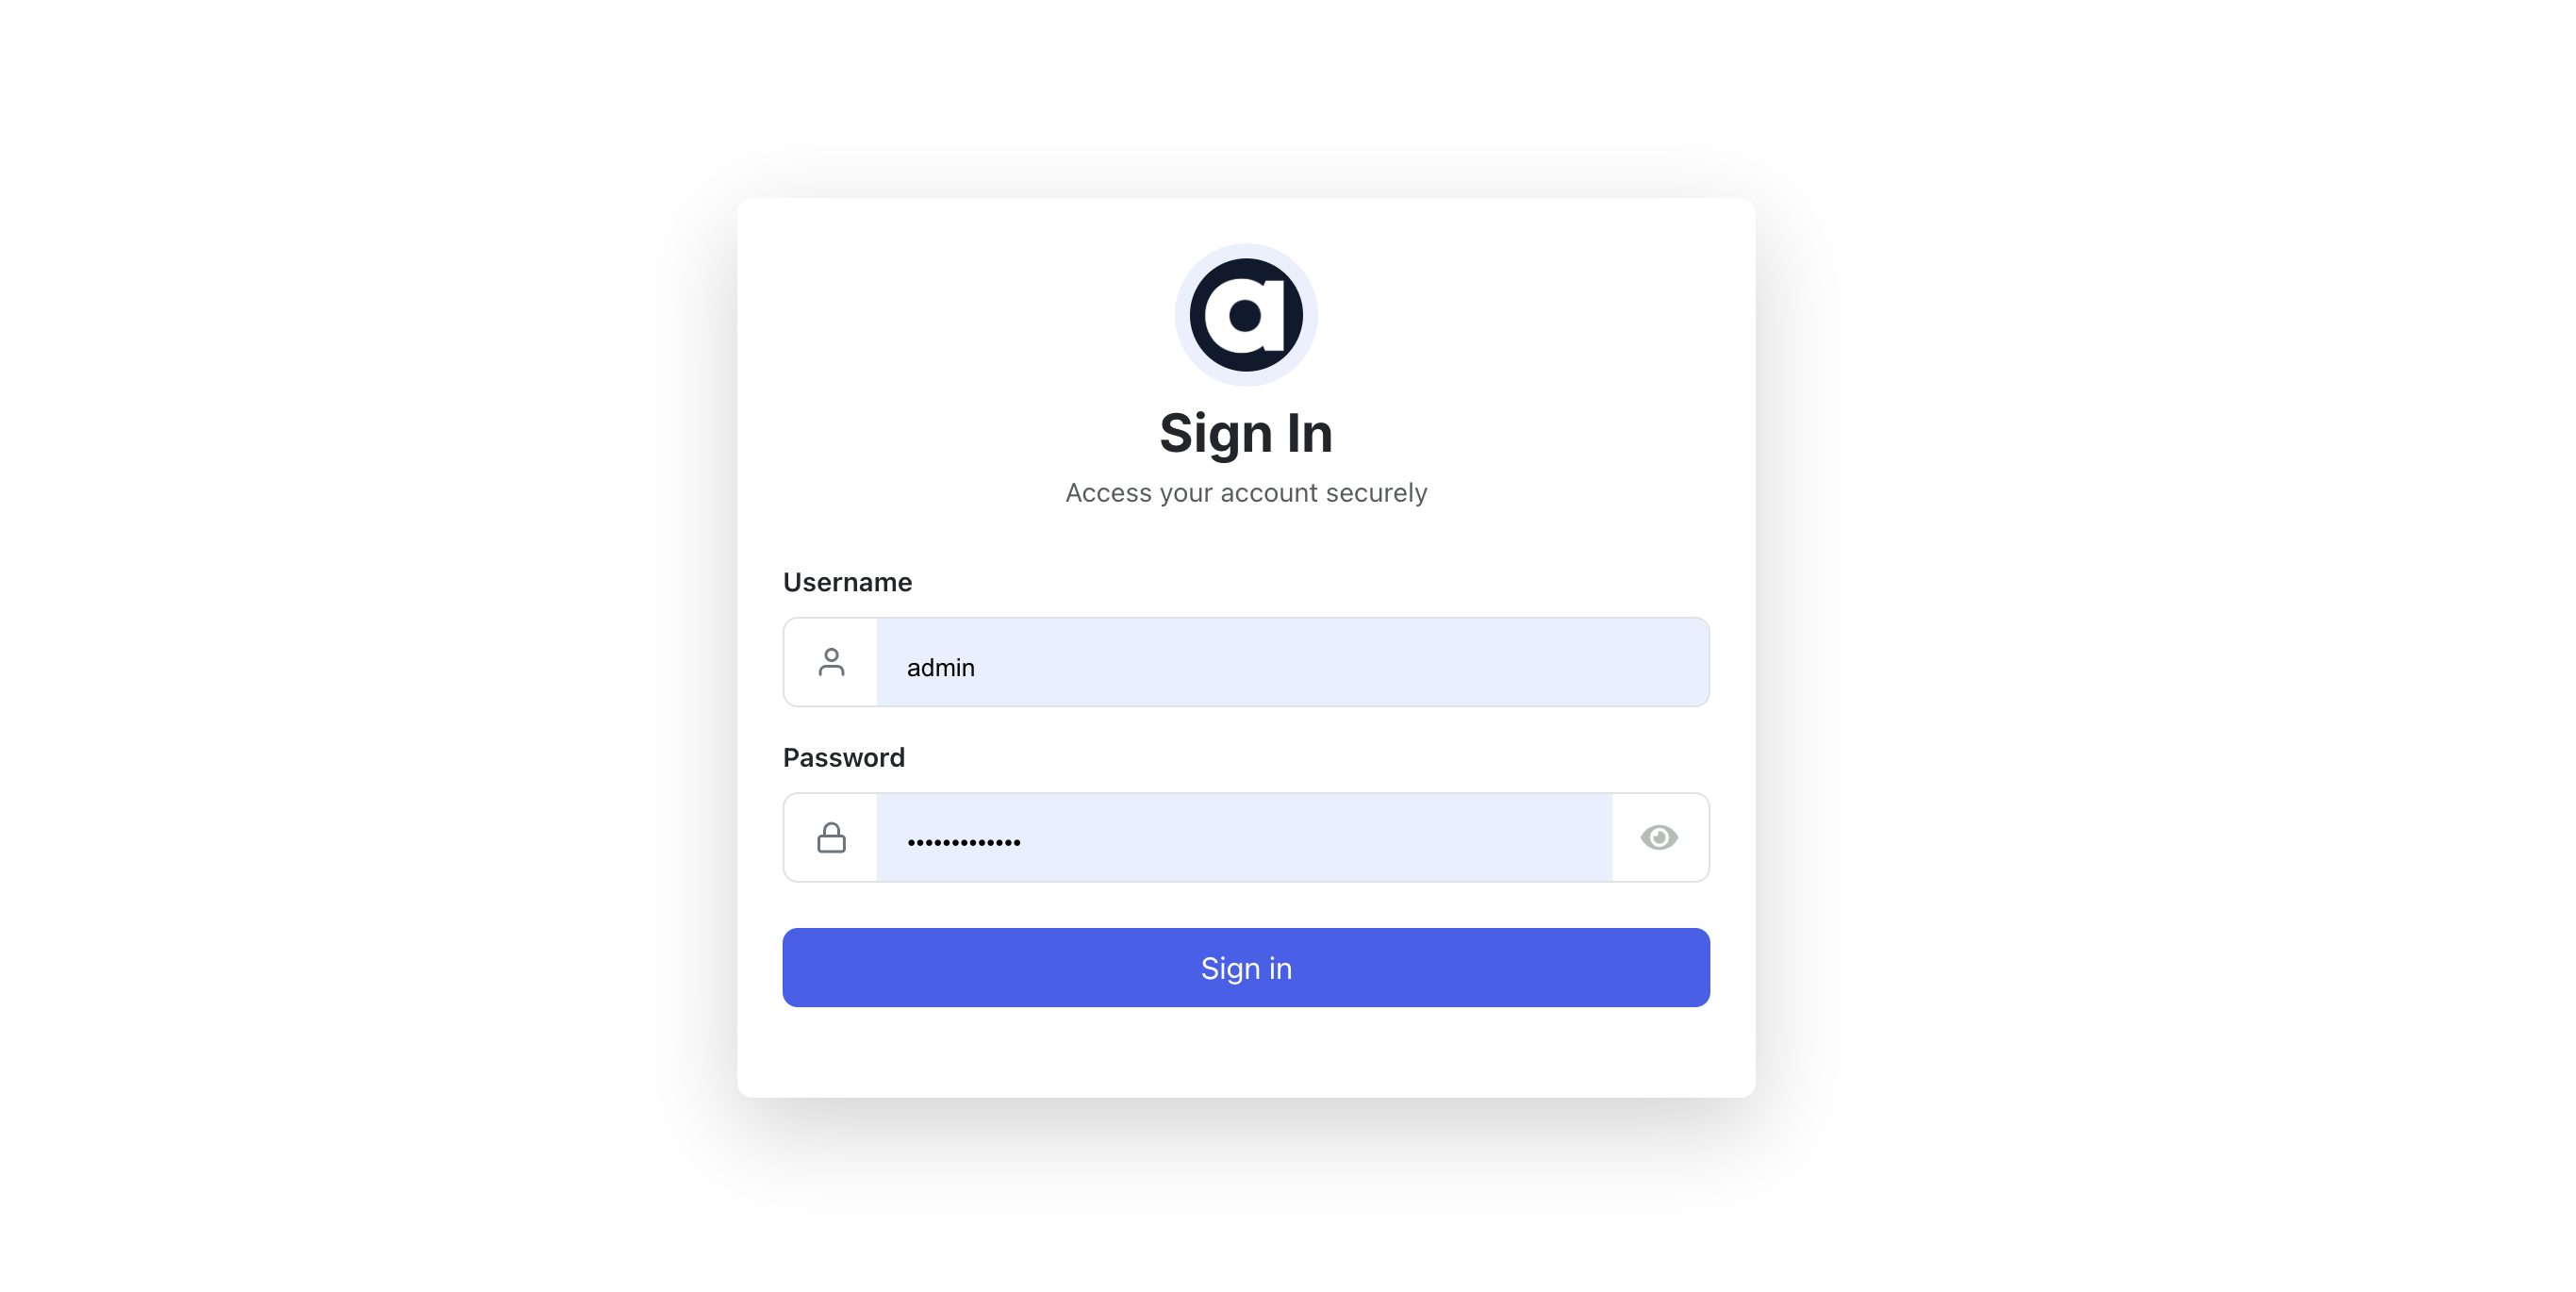
1. Login to your Altruon account
Log in to your sandbox account with your merchant credentials.
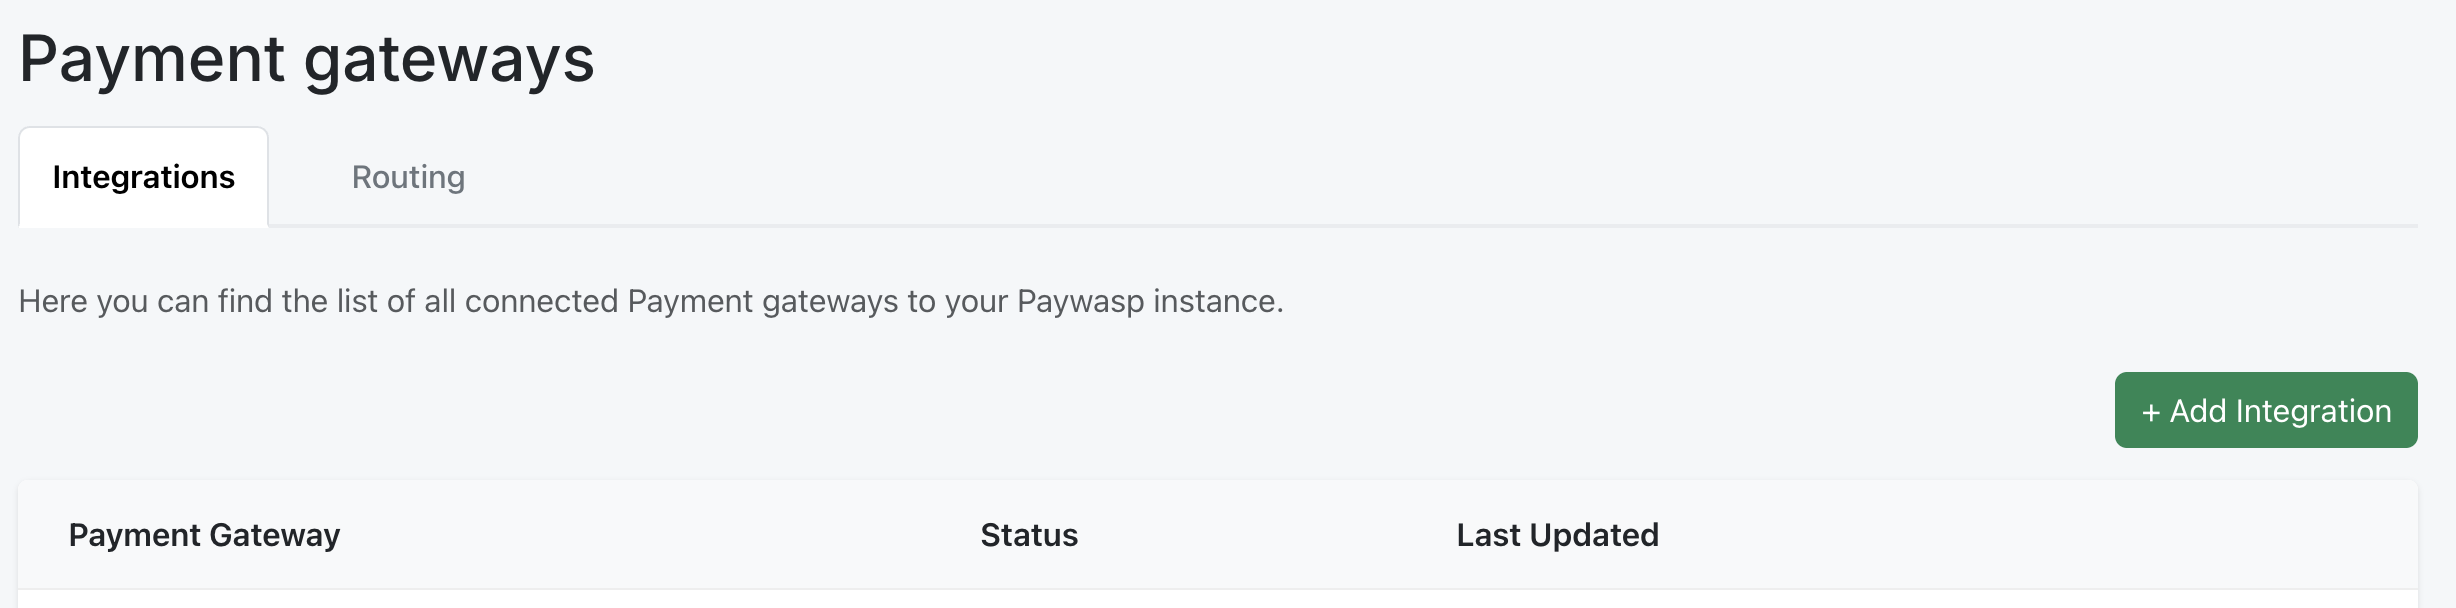
2. Connect your Payment Gateway
- Go to Settings > Payment Gateways.
- Click + Add Integration.
- Based on the gateway you want to add, follow the appropriate guide in Integrations > Payment Gateways.
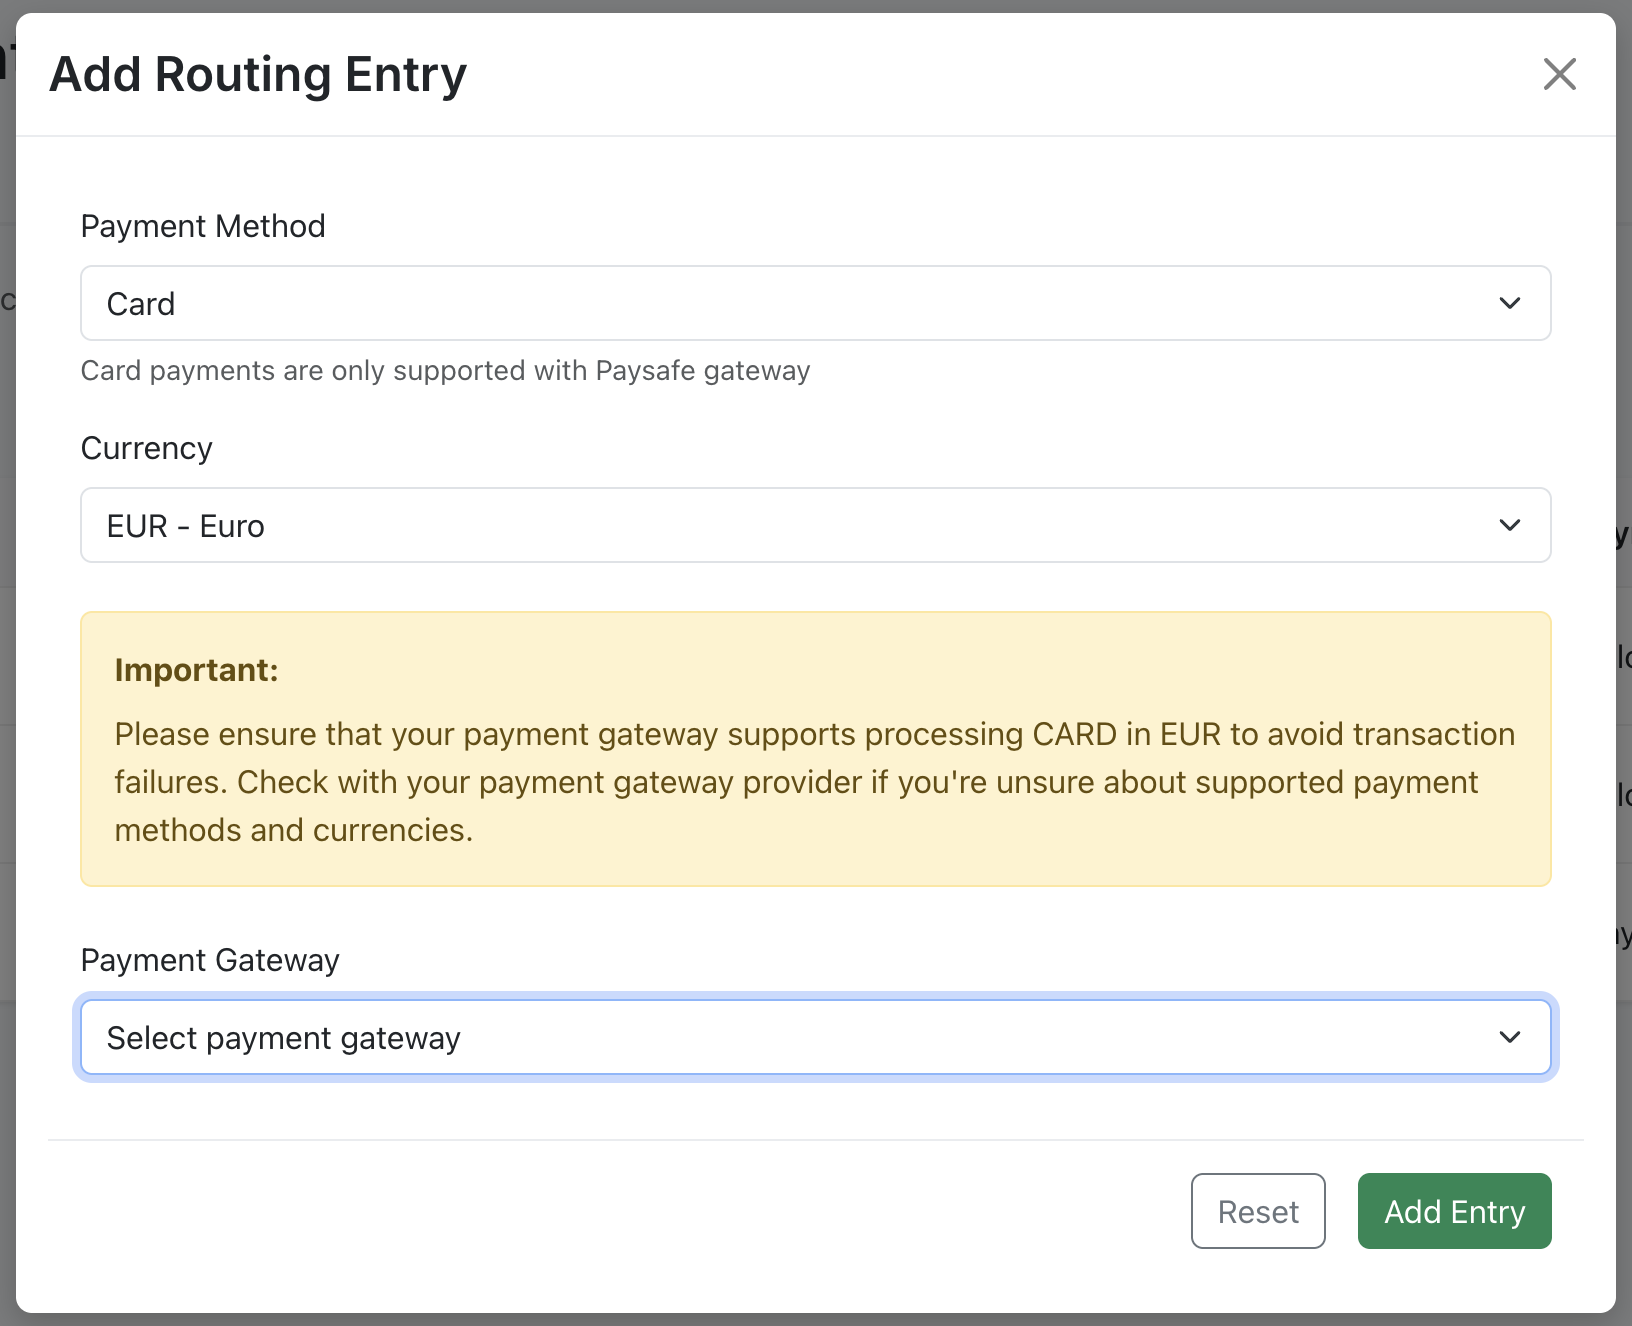
3. Configure Payment Routing
- Once your gateway is successfully connected, go to the Routing tab.
- Click + Add Entry.
- Select:
- Payment Method (e.g. card, Pix, UPI, etc.)
- Currency
- Gateway
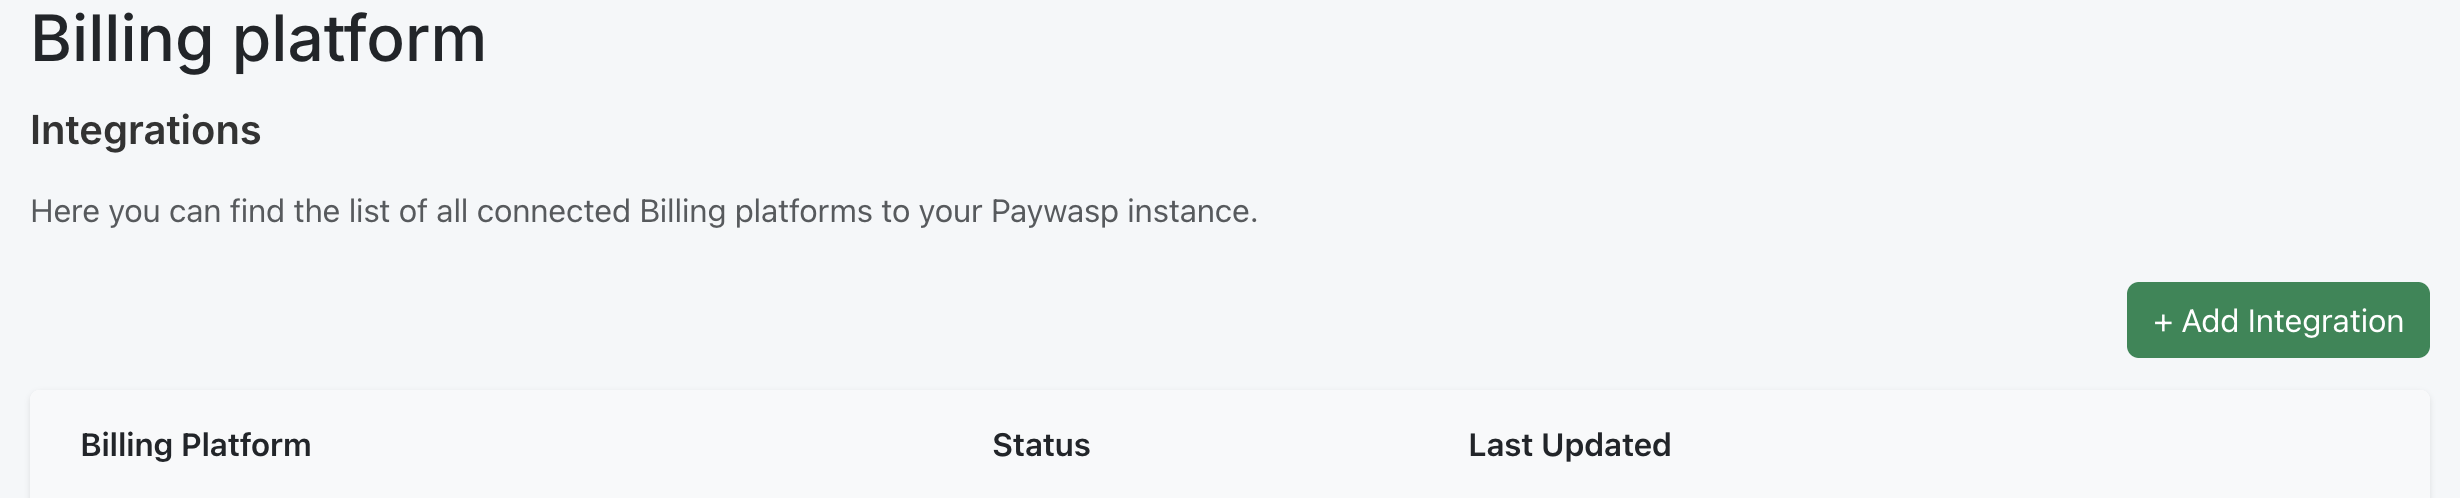
4. Connect your Billing Platform
- Go to Settings > Billing Platforms.
- Click + Add Integration.
- Follow the appropriate guide in Integrations > Billing Providers.
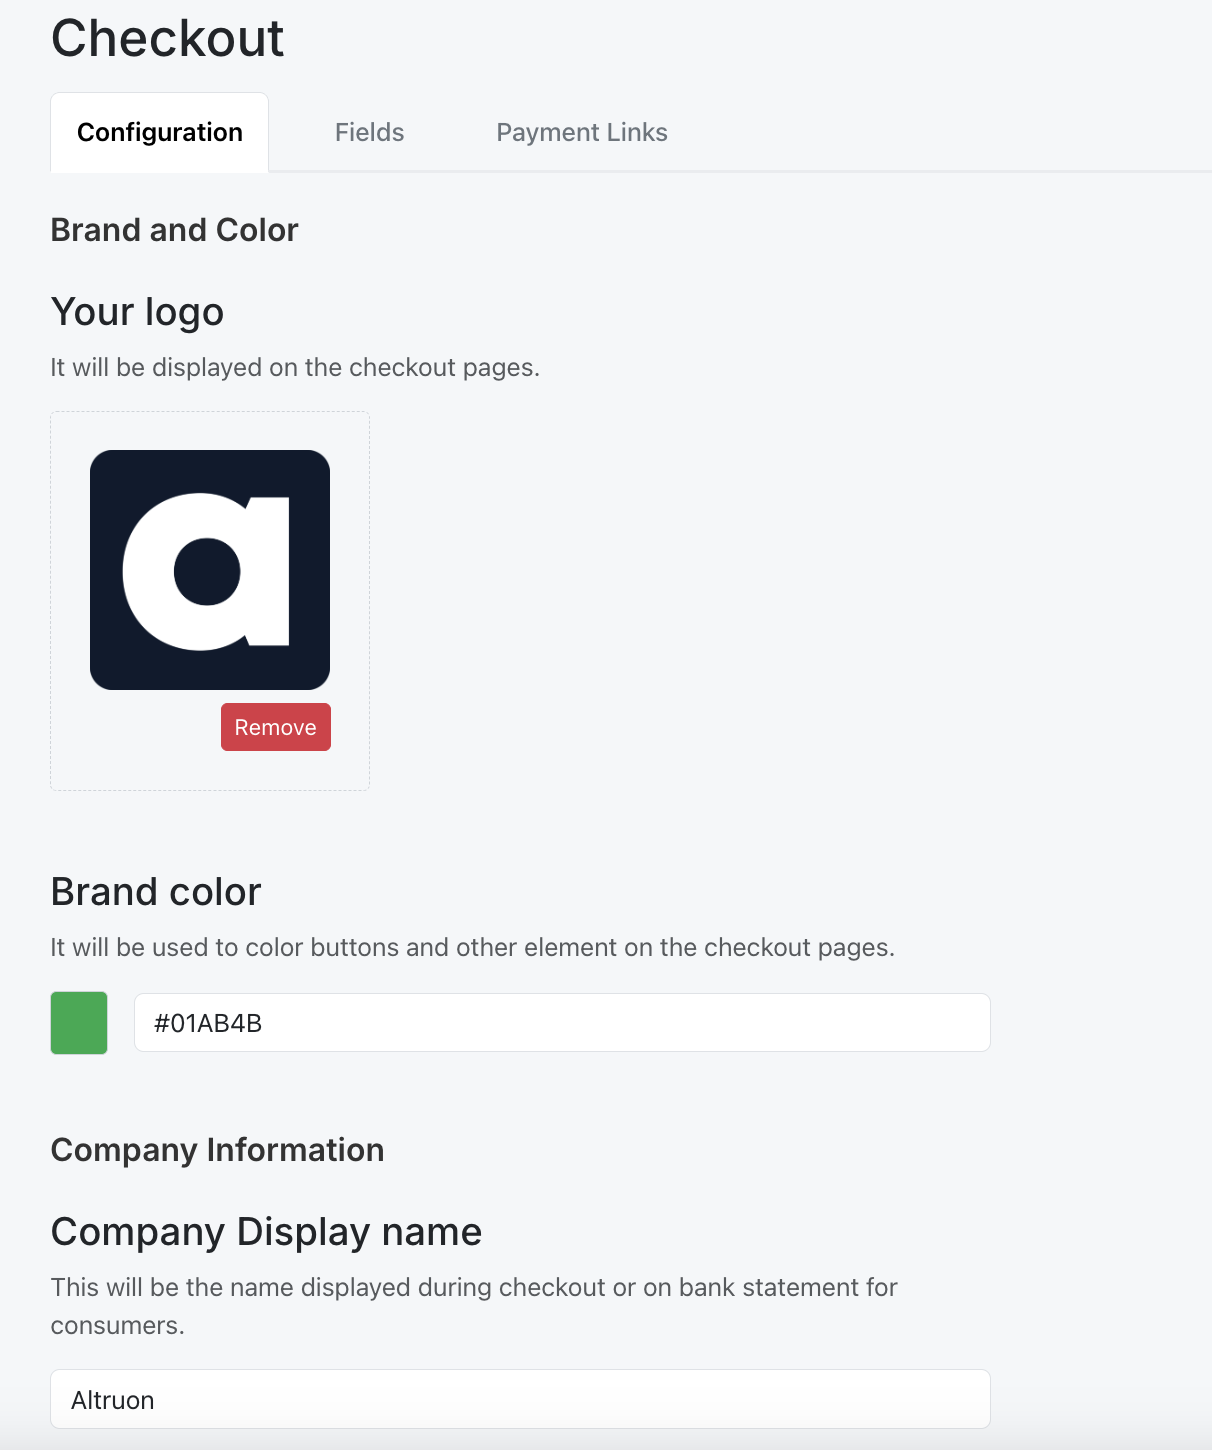
5. Configure Checkout Branding
- Go to Settings > Checkout.
- Add:
- Logo (square format preferred)
- Accent color (for Pay & Subscribe button)
- Company Display Name
- Redirect URL (where customers are redirected after successful payment)
- Click Save (bottom-right).
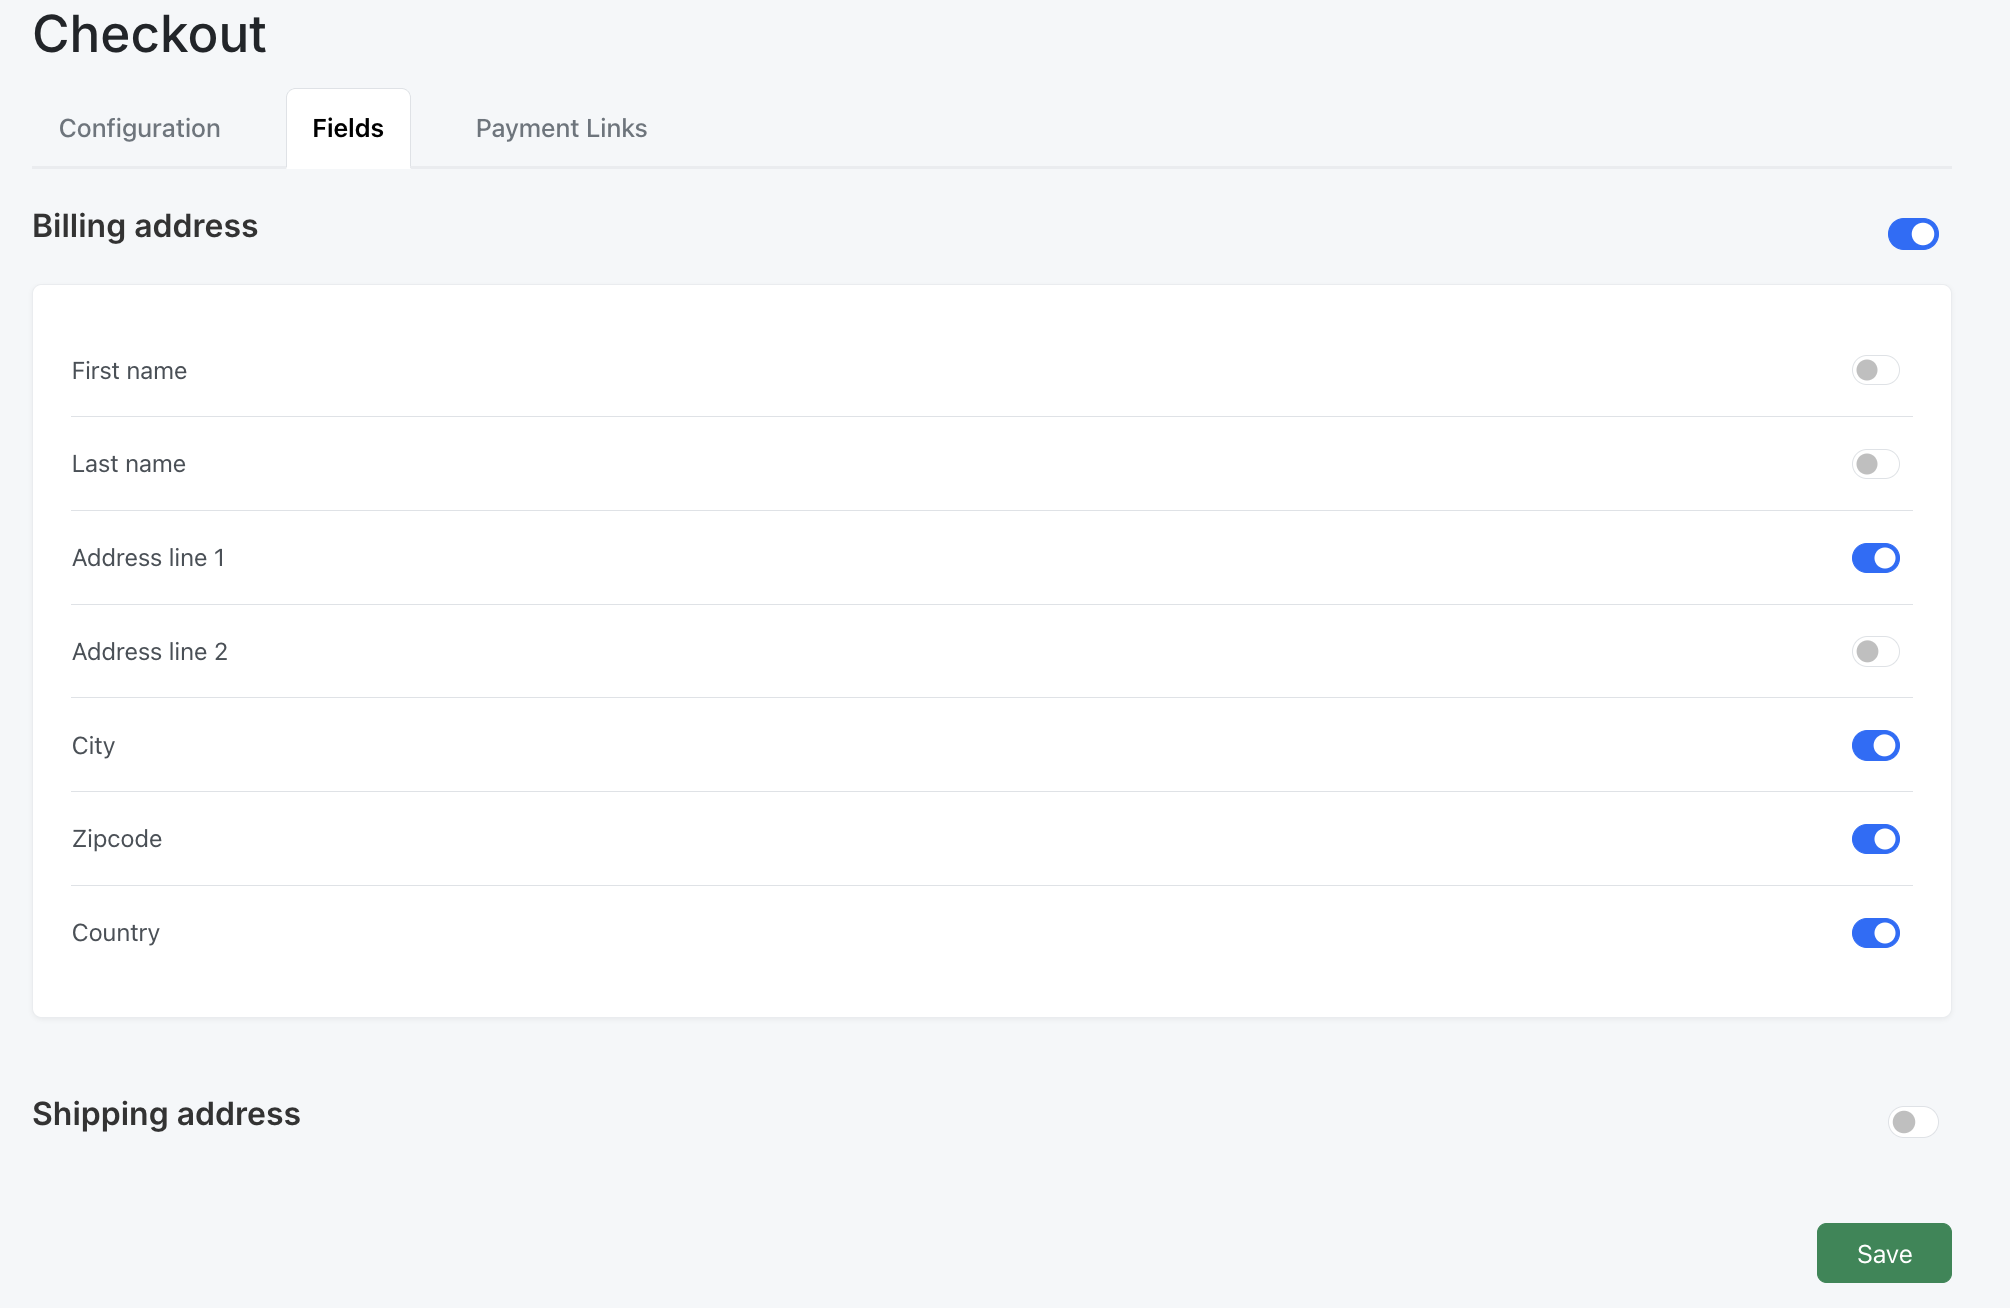
6. Configure Checkout Fields
- In the same Checkout section, go to the Fields tab.
- Toggle the information you want to collect.
Recommended: Billing Address (Address line 1, City, Zip code, Country).
First Name, Last Name, and Email are always collected by default. - Click Save (bottom-right).
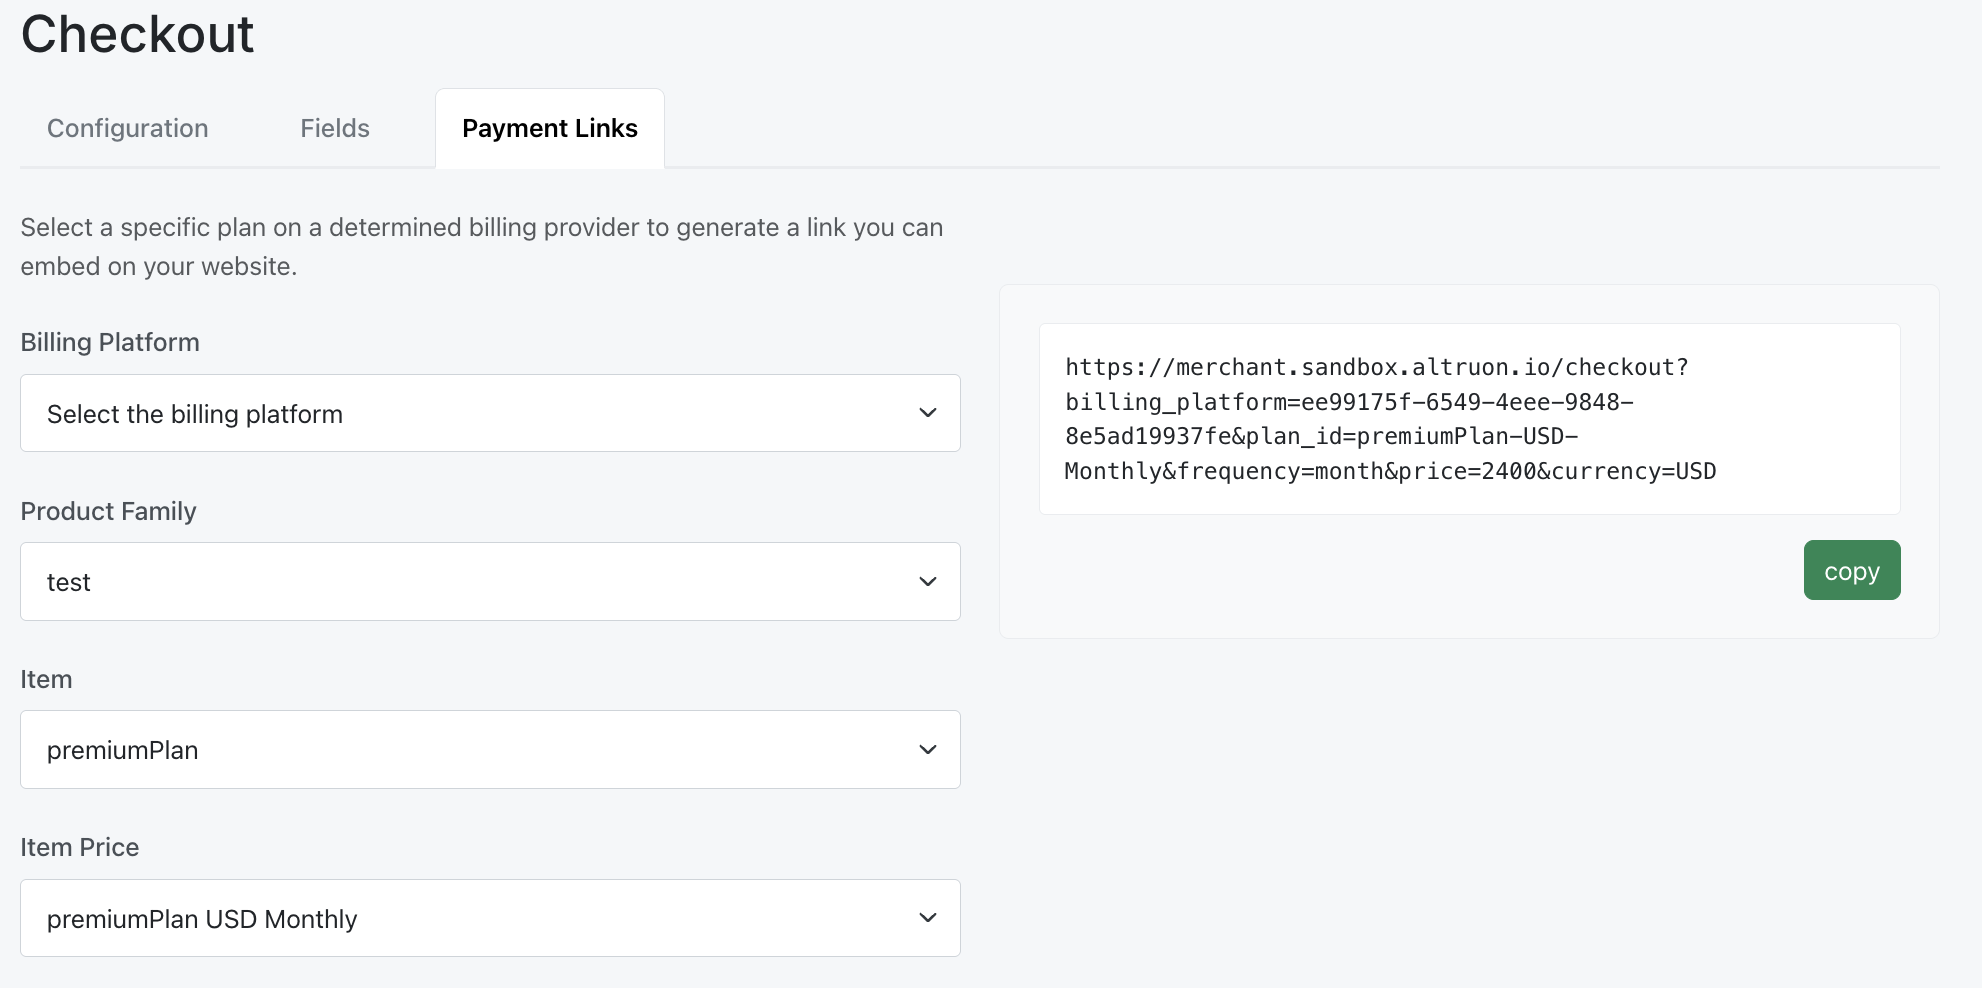
7. Generate a Payment Link
- Still under Settings > Checkout, go to the Payment Links tab.
- Select the plan from your connected billing platform.
- A Hosted Page link will be generated on the right side.
- Copy this URL and embed it on your website to start accepting customers.
8. Test the Flow 🚀
- Use your Hosted Page link to simulate a new customer flow.
- Once payment is completed:
- A Subscription is created on your Billing Platform.
- The Invoice is automatically flagged.
- The Transaction is recorded with the native gateway Transaction ID.
- Recurring charges will be automatically managed by Altruon until the subscription is paused or cancelled.
✅ You’re now ready to start processing payments with Altruon!
If you are not interested in using Altruon's Hosted Pages and require an embedded experience within your checkout page, check out the Altron JS section.